How to Create Your CallRing AI Account
Setting up takes about five minutes. You enter your details, confirm your email, pick a plan and pay. Then you land on your dashboard and can start tracking calls. The screenshots below use sample details, so use your own.
4 min read · 5 steps
What to have ready
- Your business name
- A work email you can open right now
- A payment card
-
Step 1: Enter your details
Open the CallRing registration page and fill in your full name, company name, company address (optional), work email, password, and confirm password. Then click Continue.
- Your password needs at least 12 characters, with upper and lower case letters, a number and a symbol. It cannot be a commonly leaked password.
- Your account is created as an Owner. That means you can create workspaces and invite your team.
- If you came through a referral link, the referral is applied automatically.
- An email address can only be registered once. If you already have an account, click Sign in.
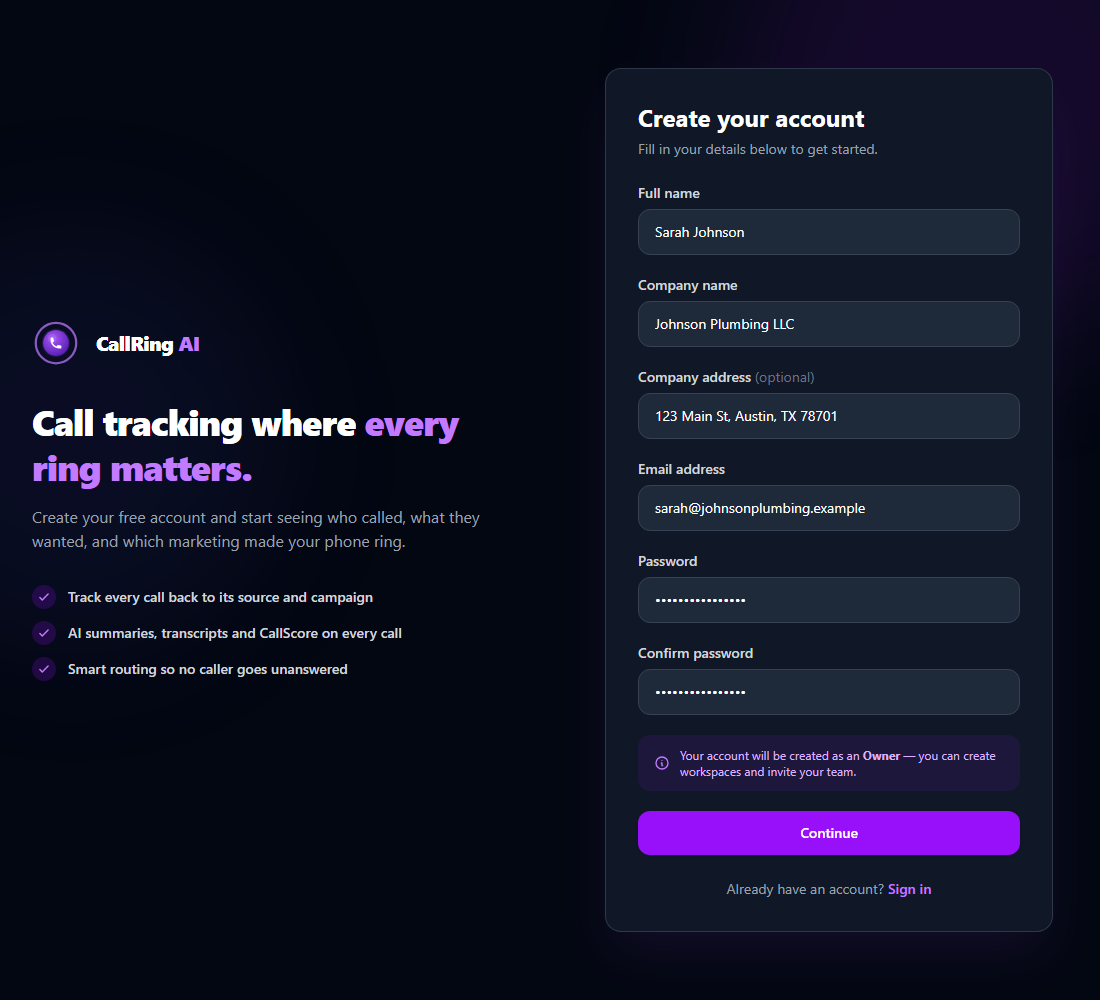
Fill in your details. The example shows sample data: use your own. -
Step 2: Verify your email
We email a 6-digit code to the address you entered. Type it into Verification code and click Verify email.
- The code expires after 60 seconds and works only once. A countdown is shown on screen.
- If it expires, click Send a new code. You can request up to 5 codes per 10 minutes, so check your spam or junk folder before asking again.
- After 5 wrong guesses the code is discarded and you need a new one.
- If you typed the wrong email, click Use a different email.
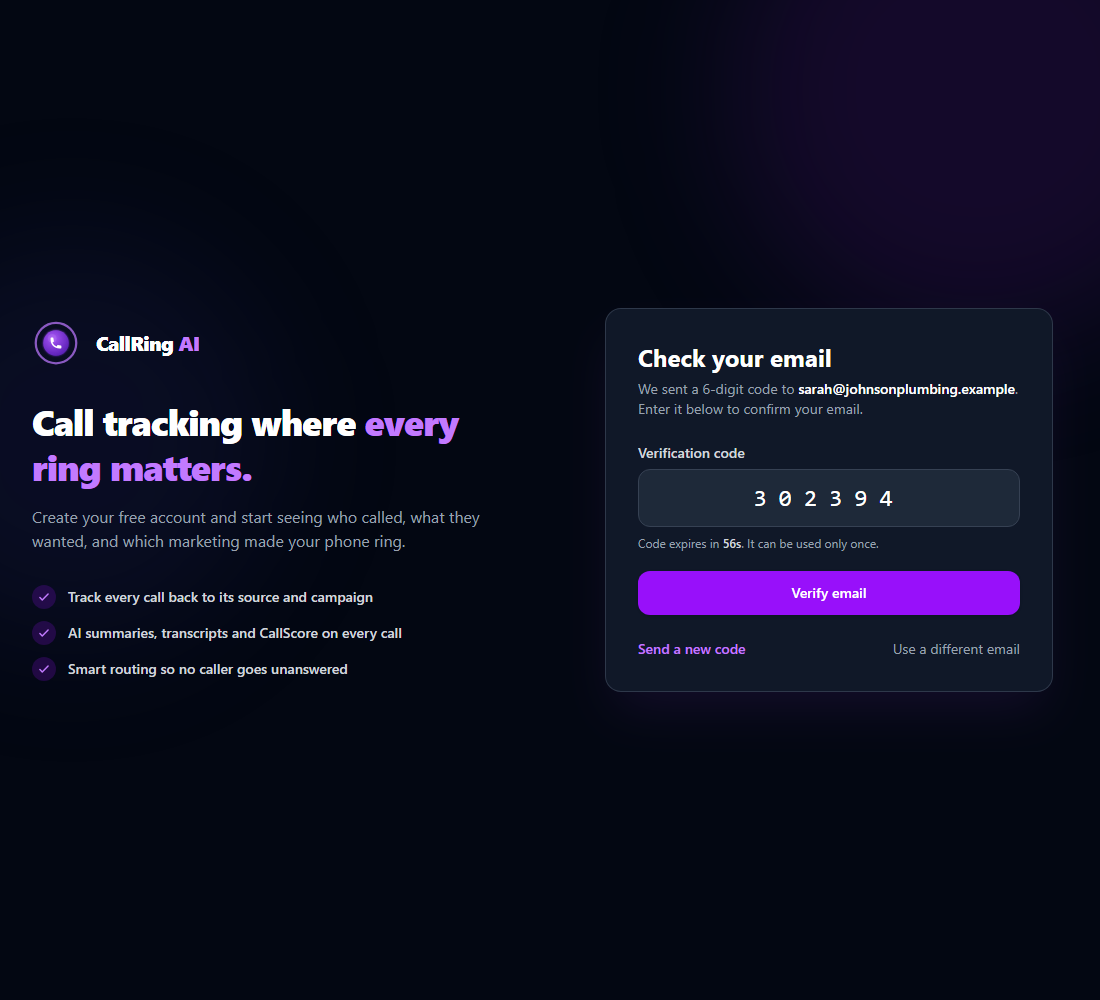
Enter the 6-digit code from your email -
Step 3: Choose your plan
Pick the plan that fits your business. The most popular plan is pre-selected. Click Continue to payment.
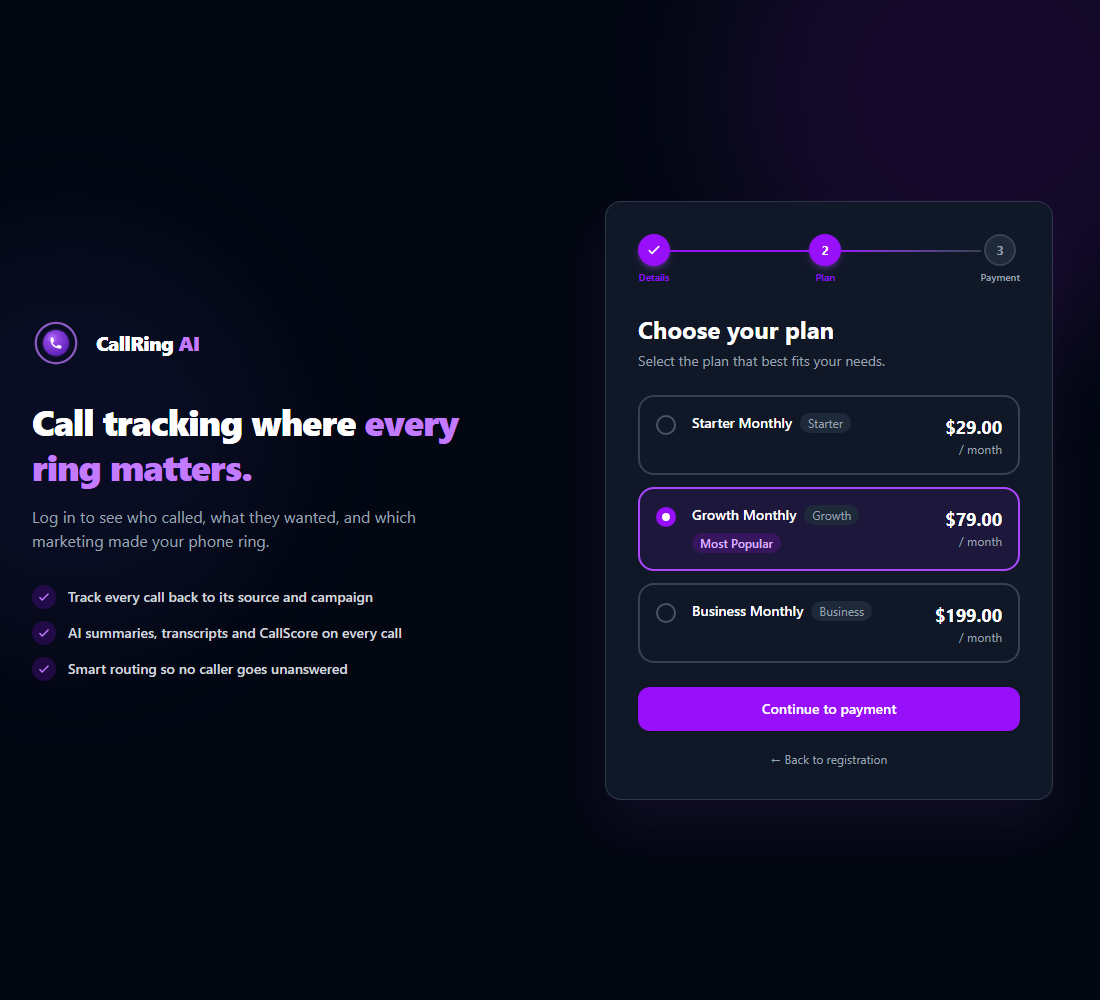
Choose your plan. The plans and prices you see may differ from this example. Note: Our plans and prices can change over time. The plans on your screen are always the current ones, and you can compare them on the pricing page. -
Step 4: Pay securely
Payment is processed by Stripe. CallRing never sees or stores your card number.
- Your account is activated as soon as payment is confirmed, usually within seconds.
- A “confirming payment” page refreshes by itself. Do not close it.
- You cannot sign in until payment is complete.
- If you close the page before paying, nothing is charged. Start again with the same email.
-
Step 5: You’re in
After payment you are signed in automatically and land on your dashboard. From there you can set up your business and start tracking calls.
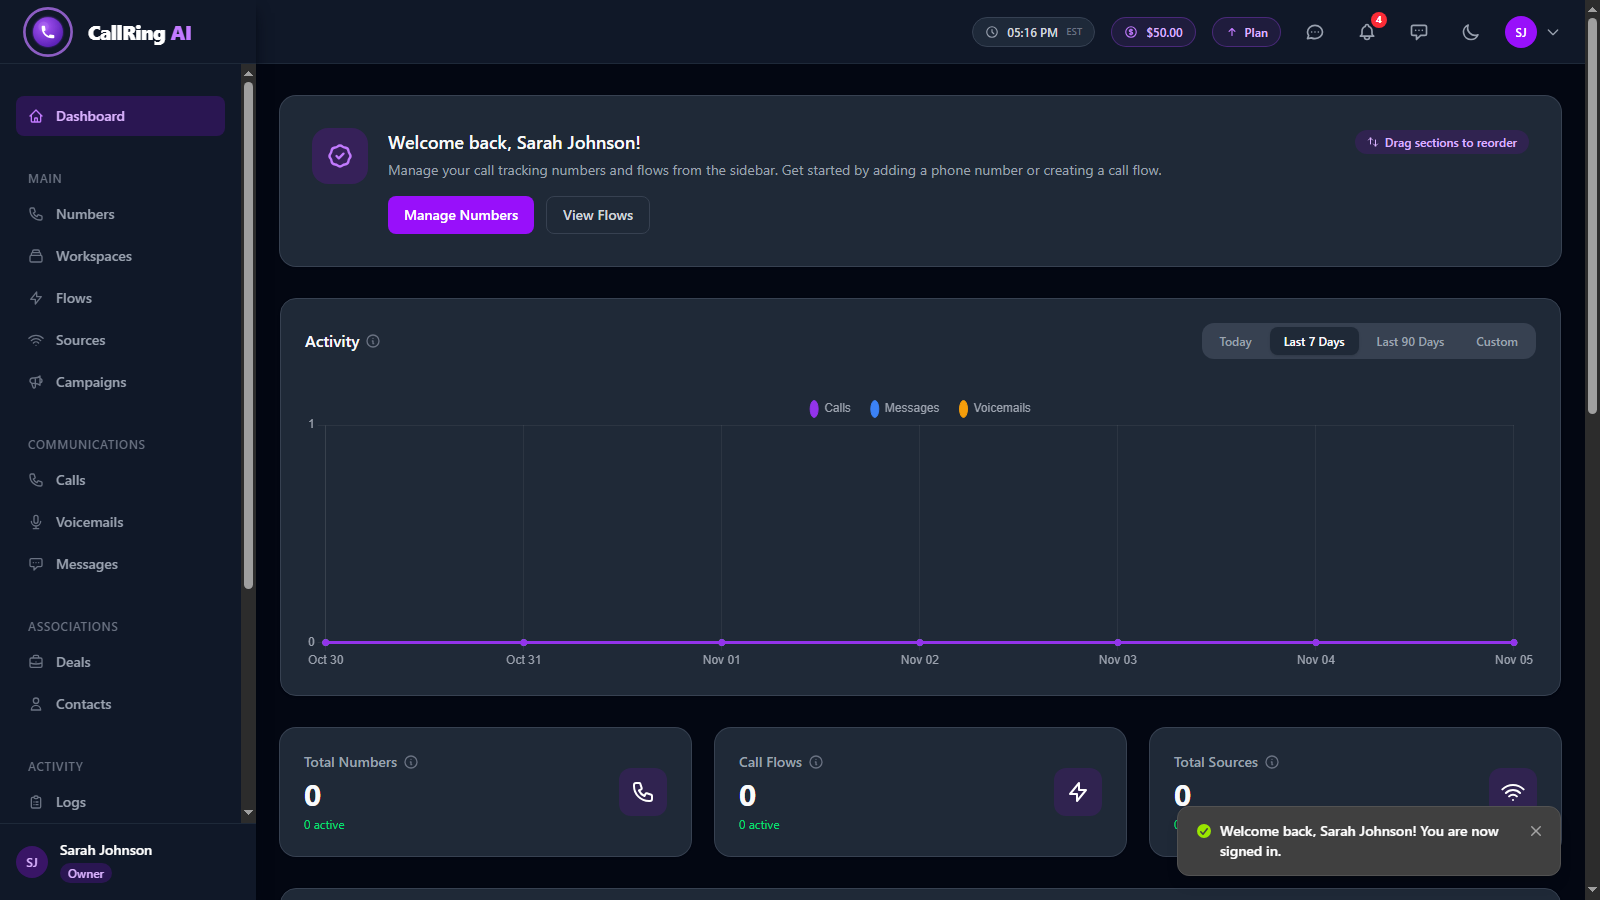
Your CallRing AI dashboard
Frequently asked questions
I didn’t get my code. What should I do?
Check your spam or junk folder first. If it is not there, click “Send a new code”. You can request up to 5 codes per 10 minutes.
My code expired. What now?
Codes expire after 60 seconds and work only once. Click “Send a new code” to get a fresh one.
I entered the wrong email. Can I fix it?
Yes. On the verification screen, click “Use a different email” and enter the right address.
I forgot my password. What should I do?
Use the password reset option on the sign-in page. [TO CONFIRM: exact wording and steps.]
Can I change plans later?
[TO CONFIRM: whether and how customers can change plans after signing up.]
How do I add team members?
Your account is created as an Owner, so you can create workspaces and invite your team once you are signed in. [TO CONFIRM: where the invite option appears.]
How do I contact support?
[TO CONFIRM: support contact details.] You can also reach the team through the contact page on this website.
Your account is ready. Next, buy the phone number your callers will dial.